Business Case:
The user wants to configure his Marketing Cloud data through Marketing Cloud Intelligence and automate data ingestion as well, and easiest approach to configure his Marketing Cloud data in Marketing Cloud Intelligence.
Solution Approach:
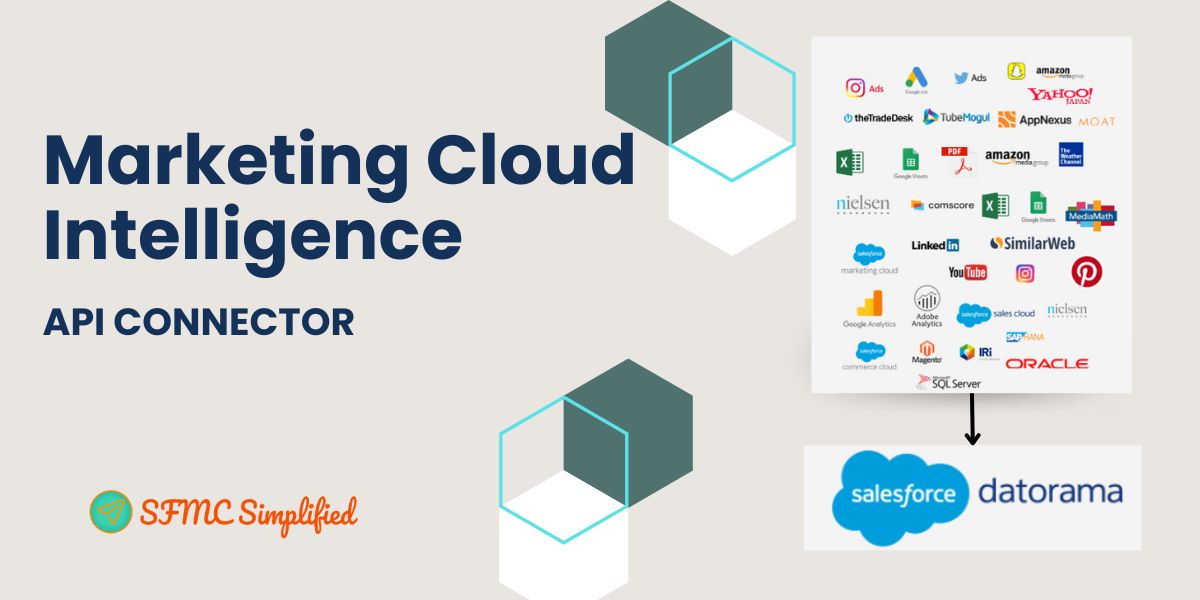
Majorly there are three approaches to configure the data, Such as API Connector (Activity), TotalConnect and LiteConnect, all three data streams work to configure user data through marketing cloud intelligence. An API Connector option is an easy way to connect to an external source platform with an API – such as Salesforce marketing cloud, Google Ads or Facebook etc.
Pre-Requisite:
A few Pre-Requisites you need have followed:
-
- You have both an intelligence platform and a marketing cloud you need a valid credential.
- User must have enterprise-level access, Admin, and Marketing Cloud Admin.
- API Connector supports three following account types:
- Enterprise 1.0
- Enterprise 2.0
- Core or Connect
- The user must have access to the parent member otherwise the authentication will fail.
Solution:
Step 1: – Click on the Connect & Mix (1) tab, select Data Streams List (2) then click on Add New (3) to create a new Data Stream.

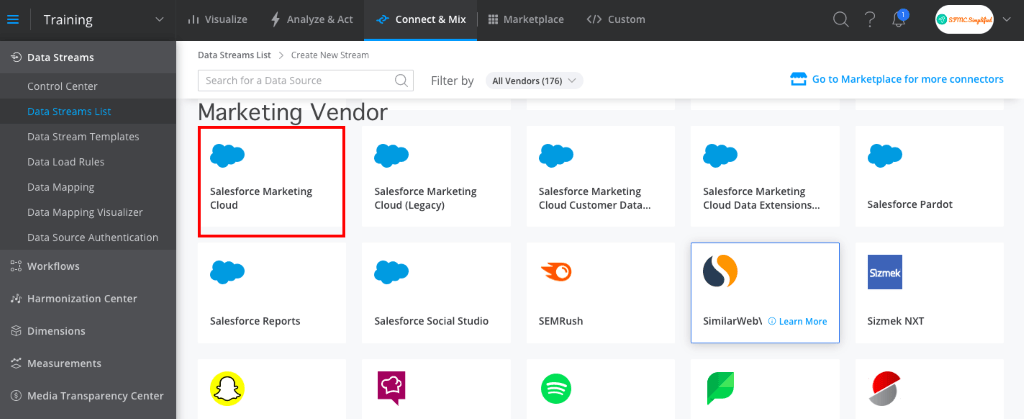
Step 2: – Select the marketing vendor which you want to connect. In this example, we will use Salesforce Marketing Cloud.
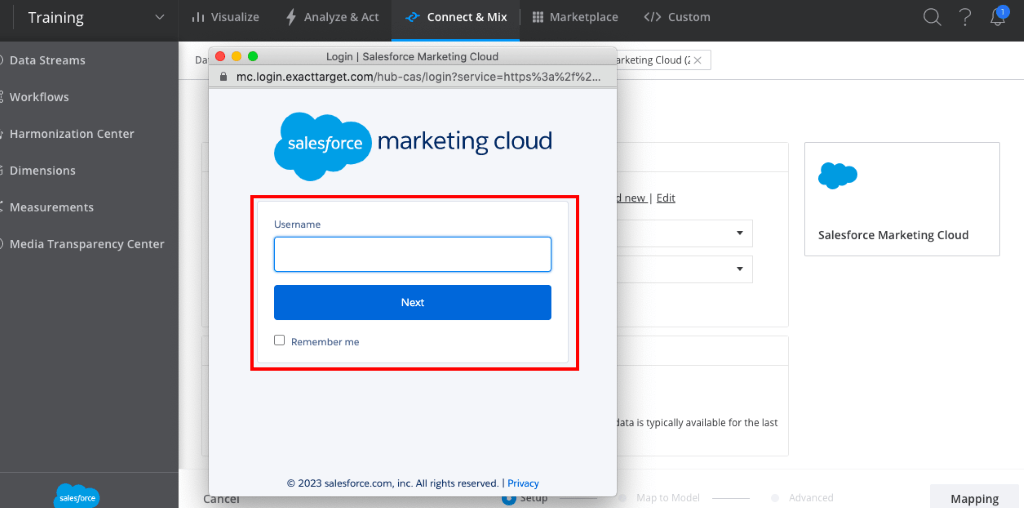
Step 3: – Click on Add New to add your credentials. A dialog box appears.

Step 4: – Now type your Username and Password credentials in the new window and click Next.
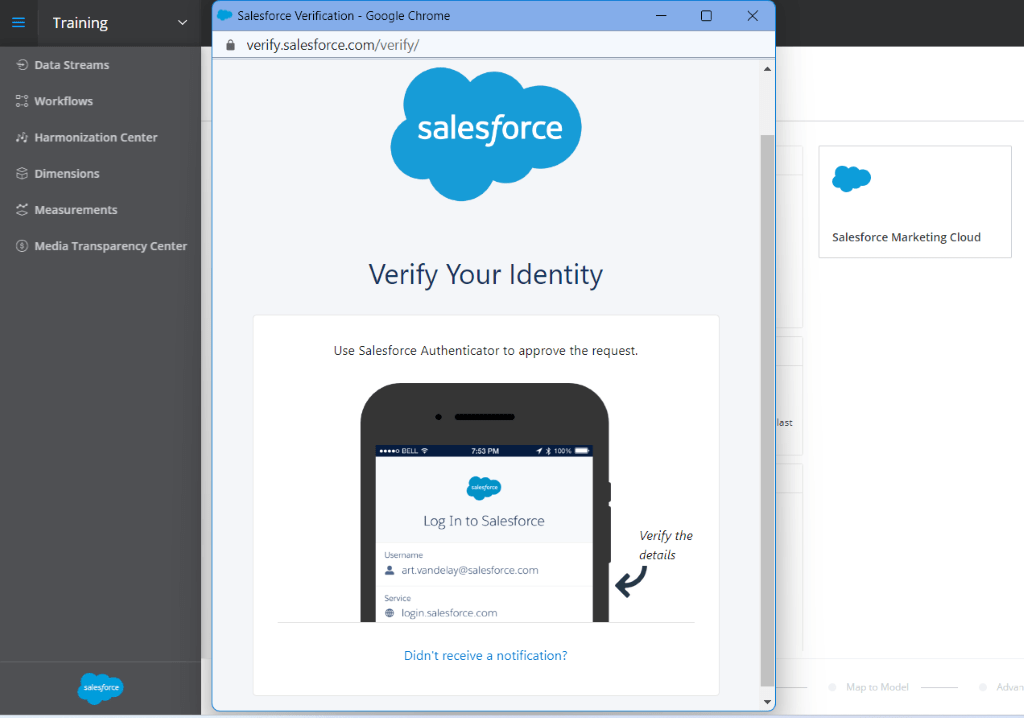
Step 5: – Authorize two-way authentication and give access to a data stream to your Salesforce Marketing Cloud.
Note: Don’t worry the rest of the data from your Salesforce Marketing Cloud will not be exposed here, only your Salesforce Marketing Cloud Data.
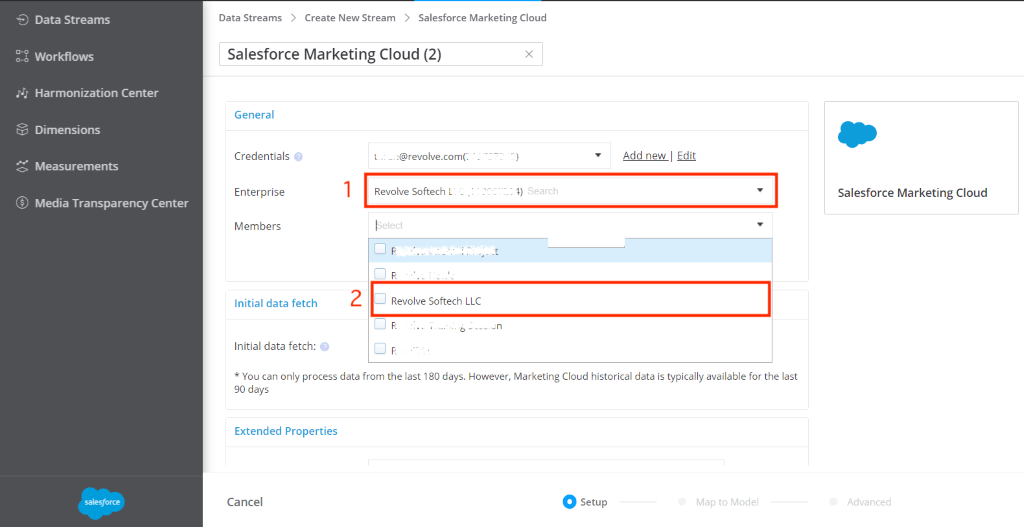
Step 6: – Once your Salesforce Marketing Cloud is authorized then Select your Enterprise and members (BU) (you can choose multiple members as well.)
Note: Leave the members box empty to retrieve all Members.
Step 7: – Go to the Initial data fetch tab and define the date range for initial retrieval:

Step 8: – In Extended Properties have multiple options to select as per your specific requirement. All the brief information is mentioned below.
- Time Zone: It’s highly recommended to set it up to the same marketing Cloud Enterprise time zone in order to avoid differences between the system.
- Enable daylight saving: If Selected, the time zone in your account will support daylight saving time and the time will move forward one hour when daylight savings time goes into effect.
- Get Test Emails: If selected, you could retrieve test emails also.
- Get Journey Data: If selected, you could retrieve dimensional data in addition to email data. If MobileConnect and MobilePush Selects, the journey enrichment will be retrieved respectively.
- Get MobileConnect Data: If selected, you could retrieve SMS Data from MobileConnect in addition to Email Data.
- Get MobilePush Data: If selected, you could retrieve push and In-app data from MobilePush in addition to Email Data.

Step 9: – Once all the configuration has been done in Setup then click on Mapping it will move next step Map to Model where you could map fields manually.
Note: If you don’t want to map the fields then Click Create.

Step 10: – In the Map to Model screen all the suitable fields are mapped automatically in center (3) and a few fields are not mapped. The Left-Hand side (1) panel contains External Data fields and the Right-Hand side (2) contains Messaging (those are data stream fields).

Step 11: – Let’s map unmapped fields in Marketing Cloud Intelligence. Let’s choose a city to map.
- Select the Unmapped (1,2) option from both sides it will display all those fields which are not mapped yet.
- Select a City field (3,4) from both sides.
- The mapped field will appear in mid of the screen (5).
- The mapping option allows you to apply a formula in it (for now we just map these fields).
- Click on Apply (6) button and the city field will be mapped and will display on the mid-screen.
- Click on the Advanced button to perform further action.

Step 12: – In the Advanced screen Set it up Load Mode as per your requirement. Load Mode defines how new data is loads into data Stream brief information is mentioned in below:
- Replace: New data records will overwrite already existing data based on overlapping dates.
- Upsert: When updating and inserting measurement data associated with existing dates and the key will be updated. A new key and dates will be inserted.
- Incremental: When new data records will be incremented in existing data at every data ingestion.
- Total Replace: It will remove all existing data records at every data ingestion.
So, we select Upsert (1) load mode, whenever a data record ingestion it will update all existing records and insert new data records and select Create (2).

Congratulations, you’ve created your first API Data Stream! Your data will automatically be imported daily into Marketing Cloud Intelligence, under the selected workspace.
Pros to use this approach:
- Enter your marketing cloud credentials and authenticate your account and Marketing Cloud Intelligence does the rest.
- While mapping the field you could apply formula validation in Map to Model.
- Once the Data Stream is connected, your data is mapped for you automatically and Marketing Cloud Intelligence is maintained and updated according to any changes that take place from the external source platform.
- You could fetch one or more BU member data in Marketing Cloud Intelligence.



Hi,
Thank you for the article.
As mentioned in the Step 6, is it necessary to integrate with Enterprise BU, can’t we just integrate member BU/ child BU ?
Hi Harsh,
Integrating with a member BU only is not possible. Enterprise BU is mandatory. When you integrate with an Enterprise BU, you can select one and more member BUs if you want to integrate with. If the member BUs field is blank, all member BUs will be retrieved.
Thank You Saurabh for the explanation.